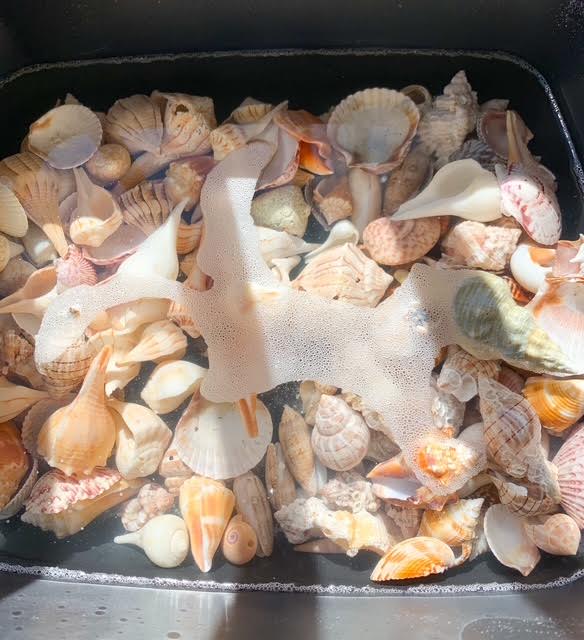
Step 1: Start by cleaning your scallop shells
This post contains Amazon affiliate links, as an associate I earn from eligible purchases at no cost to you…links are at the bottom of the page
If you’ve gotten them from a fish market, scrub them well with soap and water. This will remove any residue. Let them dry completely.
Next, apply a coat of white acrylic paint to the inside of each shell. This creates a clean background so the napkin design stands out beautifully. You need two coats for full coverage—just make sure the first layer dries before applying the second.
Pro Tip: Lay the shells on foil or wax paper to keep things tidy.
Step 2: Separate and Cut the Napkins
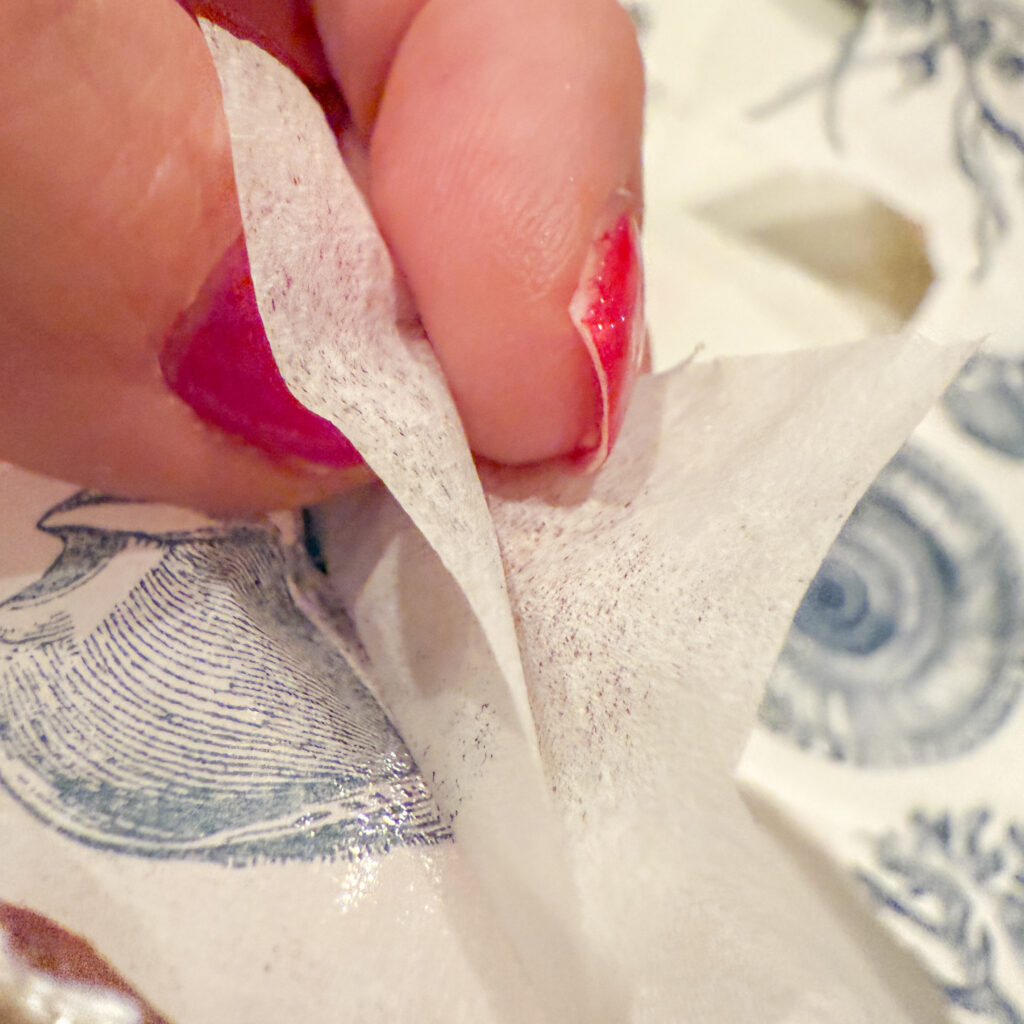
Most decorative napkins are 3-ply, but you only need the top printed layer. Carefully peel away the layers until you’re left with just the patterned sheet.
Cut the napkin to roughly match the shape of your shell. Don’t worry about precision here—you’ll trim any excess later.
Step 3: Apply the Napkin with Mod Podge
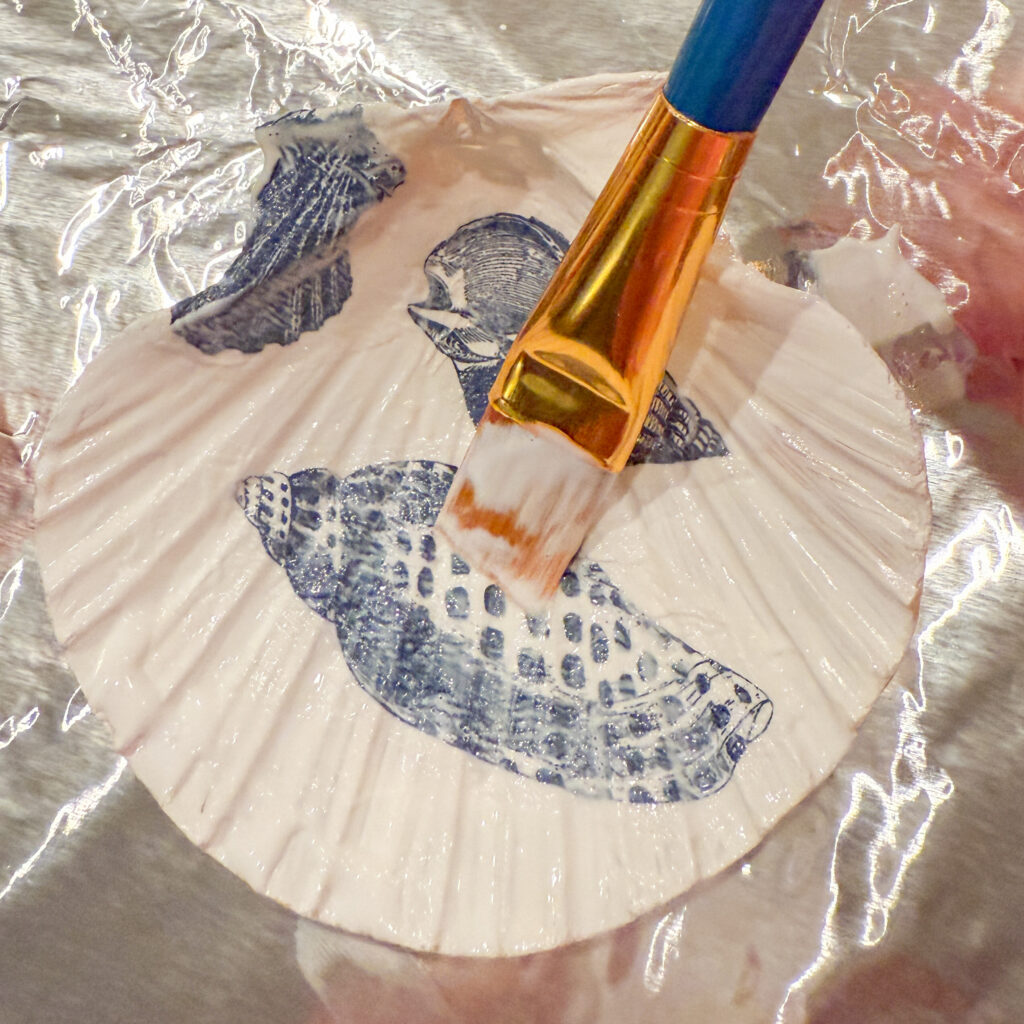
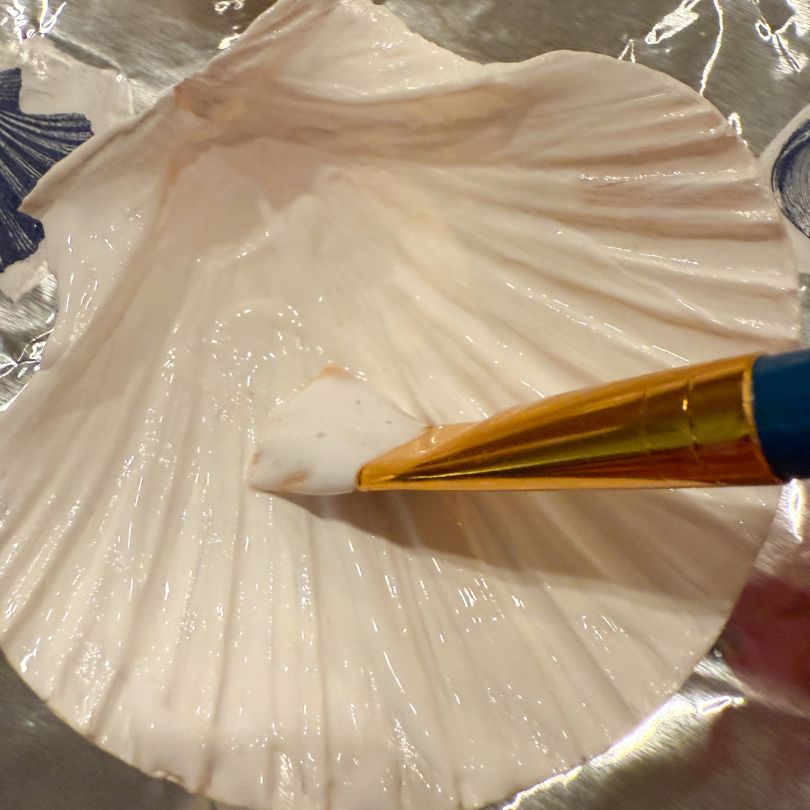
Using a foam brush, apply a thin, even layer of Mod Podge to the inside of the painted shell. Gently place the napkin on top, starting from the center and working outward.
Here’s the trick: lay a piece of plastic wrap over the napkin and smooth it down with your fingers. This helps prevent wrinkles or tears without sticking to the paper.
Once it’s smooth, peel off the plastic wrap and let the shell dry completely.

Step 4: Seal and Trim
After the napkin is dry, apply a second coat of Mod Podge on top to seal the design. Let it dry for a few hours.
Once dry, carefully trim any excess napkin hanging over the edges with small scissors or a craft knife.
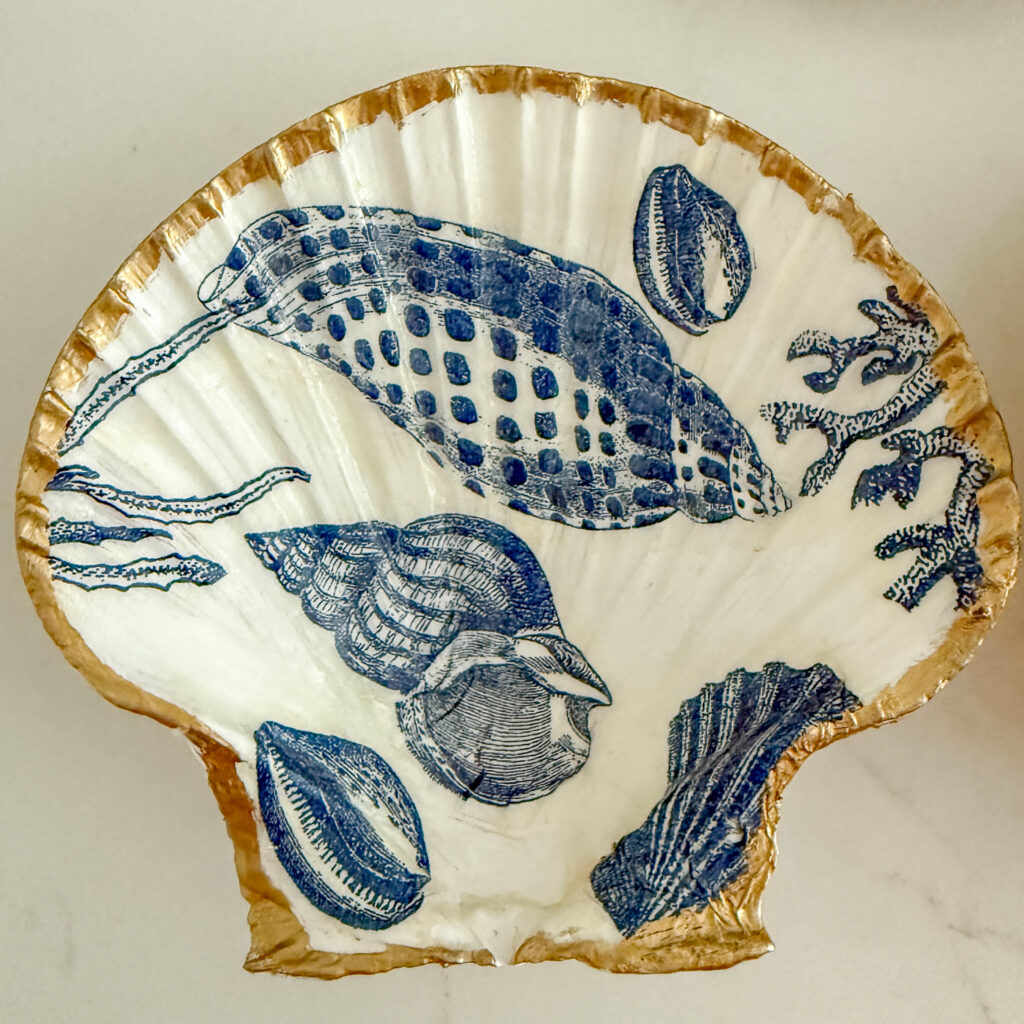
Step 5: Add the Gold Edge
This step gives your shell that extra touch of elegance. Take your 18K gold paint pen and run it along the edge of the shell. The natural ridges of the shell create a beautiful gilded finish.
Let the paint dry completely before handling.
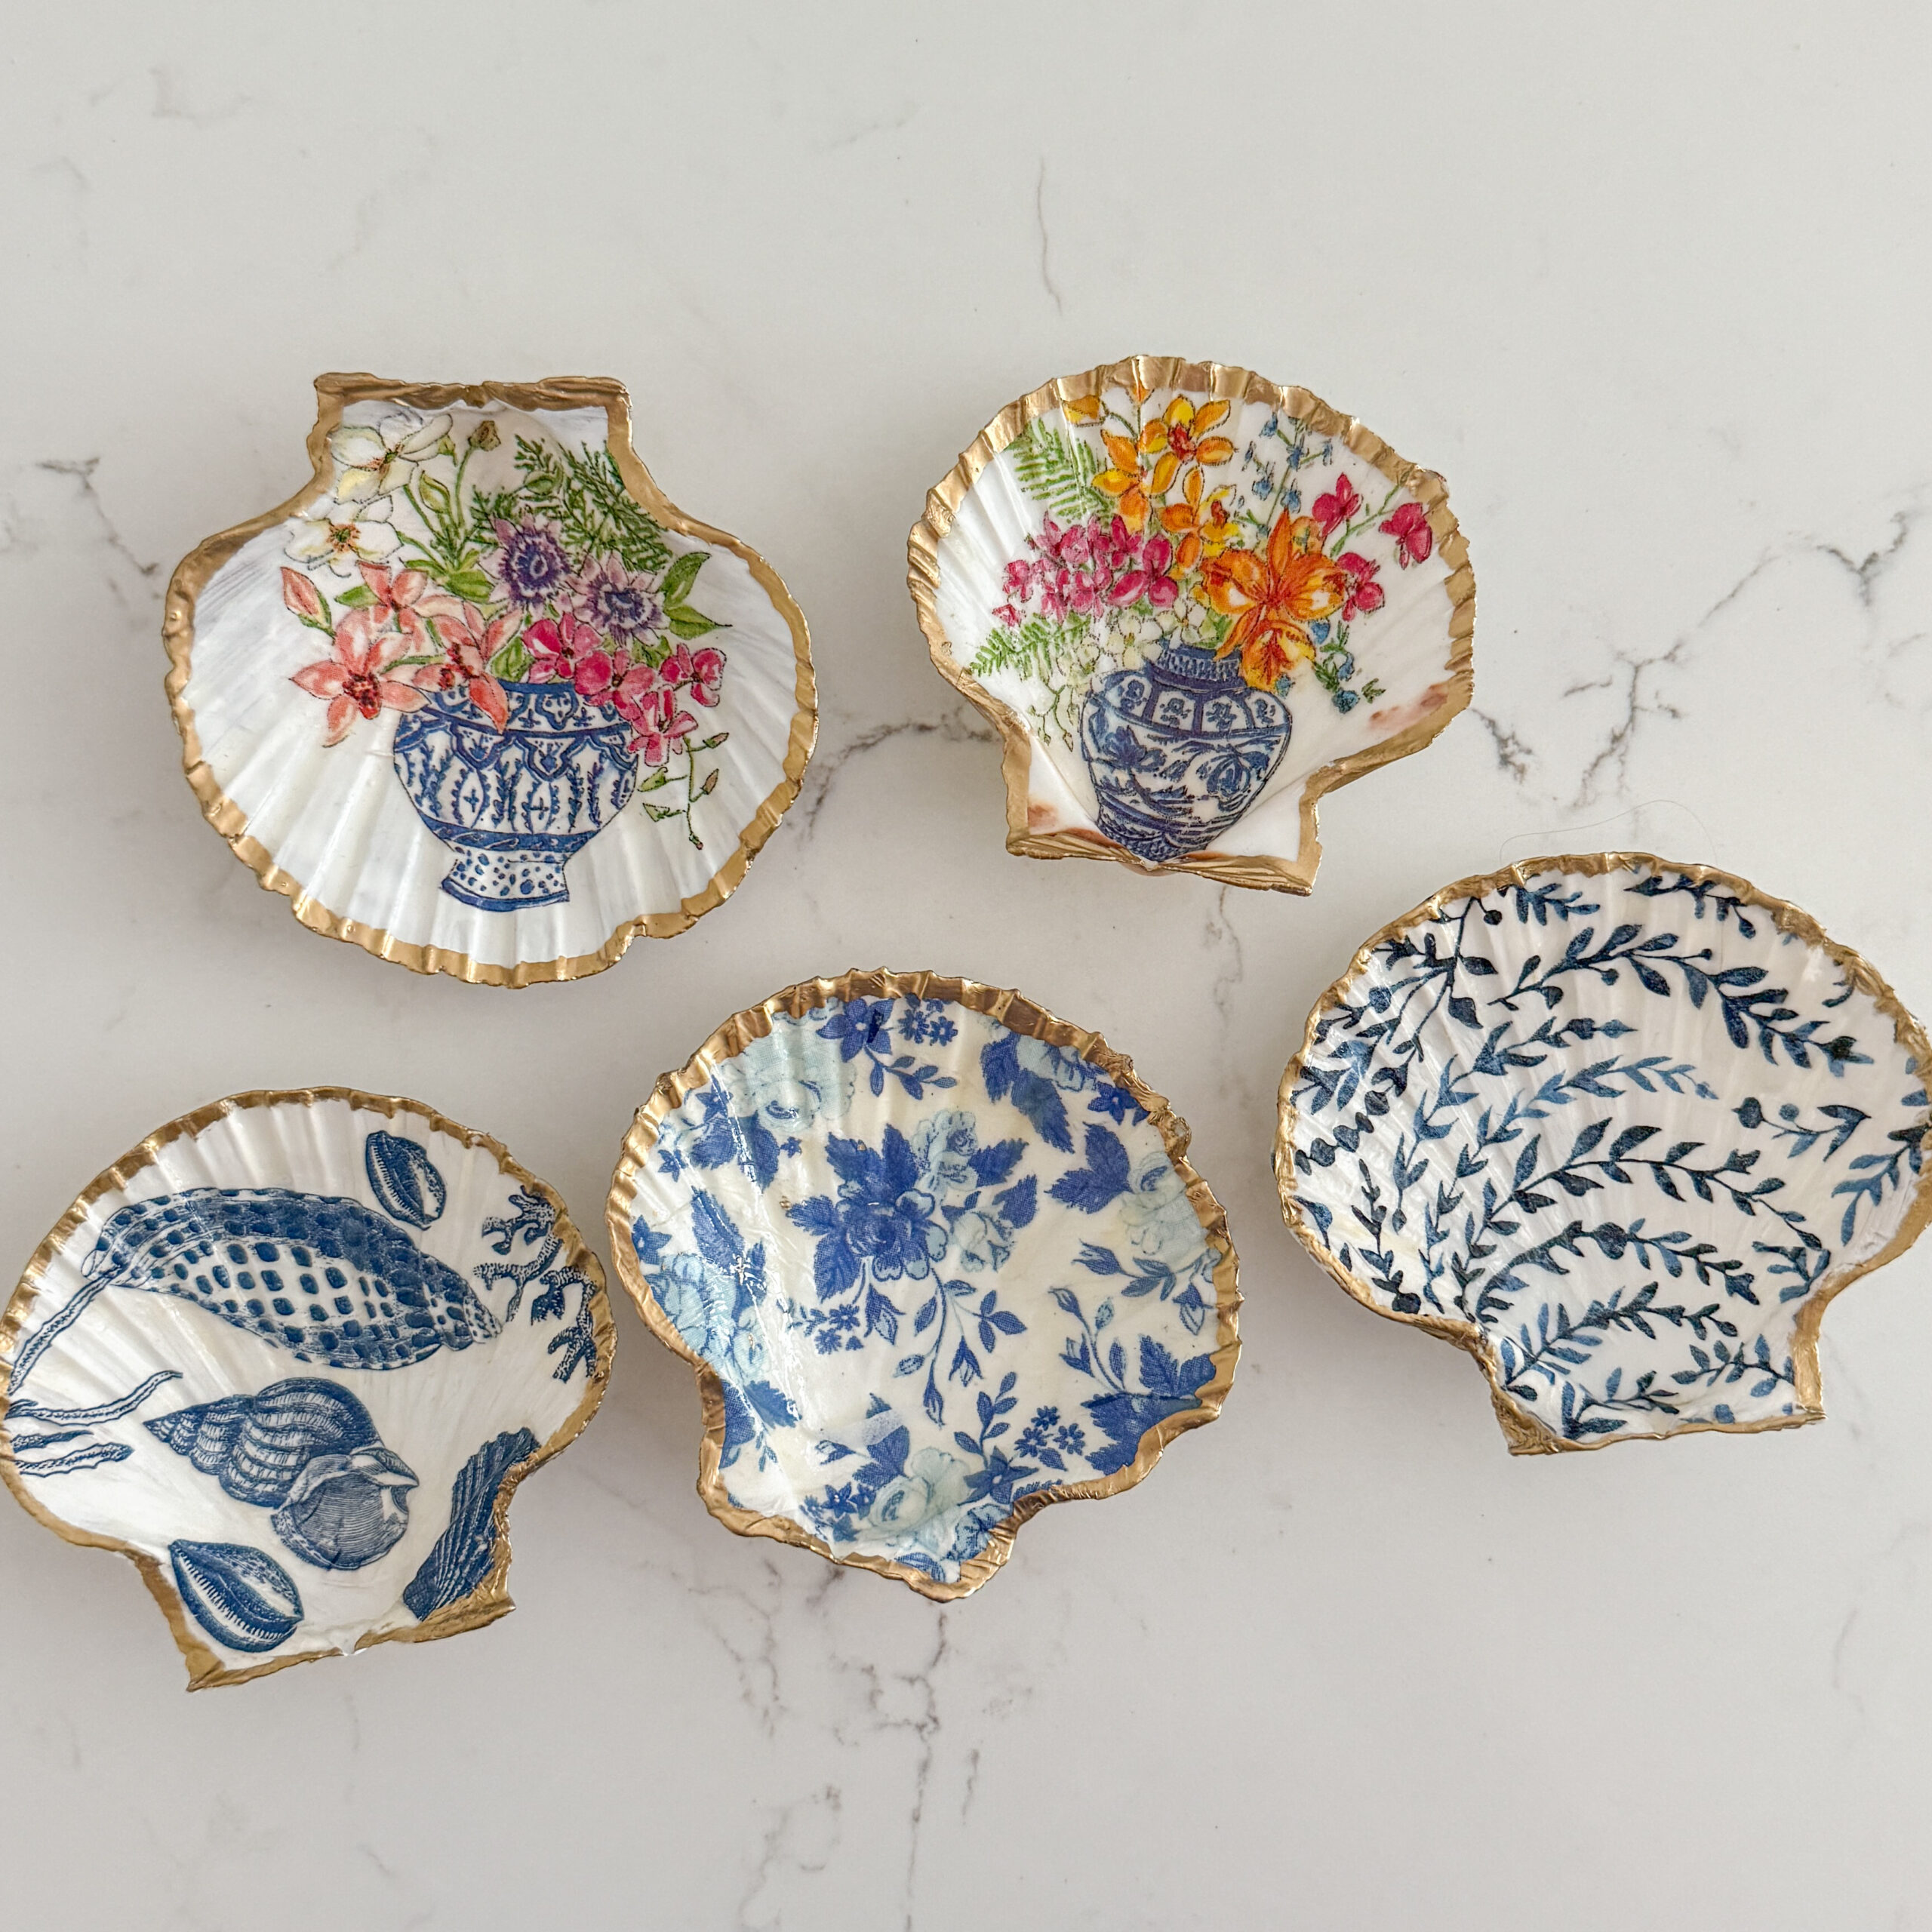
Creative Ideas for Your Trinket Dishes
• Ring holders: Place one by the kitchen sink or bathroom vanity.
• Gift idea: Pair one with a small piece of jewelry for a thoughtful gift.
• Coastal decor: Show a few on a tray or shelf for an instant beachy vibe.
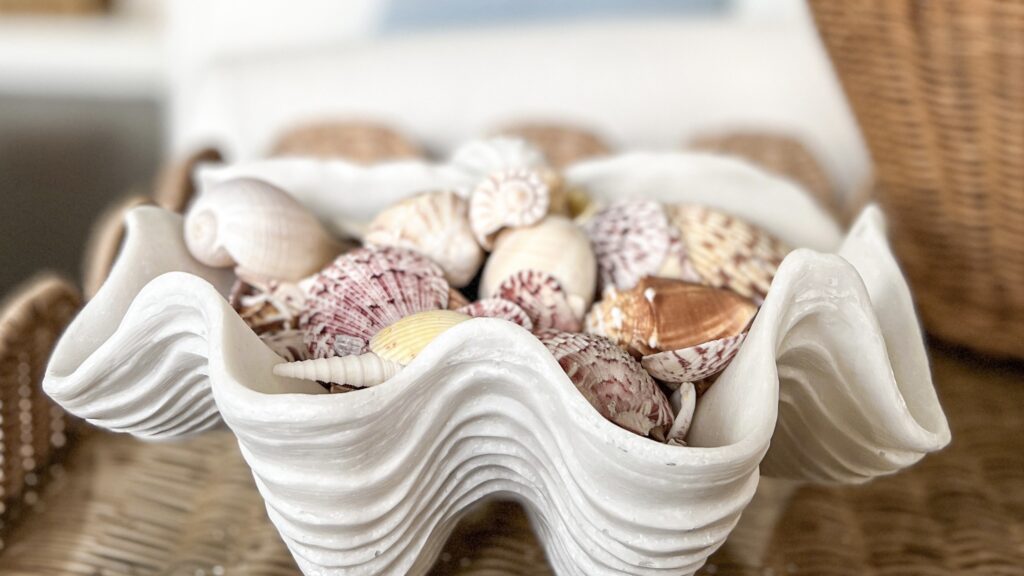
These decoupaged scallop shells bring a little ocean-inspired charm into any space. And once you get started, it’s hard to stop!
If you like this craft check out my posy on the seashell mirror I made HERE
for information on how I clean my seashells look at this POST
Happy crafting!
Here’s some items that will be useful for this craft on Amazon