Looking for a fun and mess-free way to decorate this season? Try transforming plain eggs into stunning keepsakes with just a few simple supplies. This easy project combines creativity with practicality, making it perfect for crafters of all ages.

Using Mod Podge and decorative paper napkins, you can create beautiful designs in under 30 minutes. No dyes or messy paints required! Plus, these handmade treasures can be reused year after year, adding a personal touch to your decor.
Whether you’re a beginner or a seasoned crafter, this technique offers endless customization. From floral patterns to vibrant prints, the possibilities are as unique as your imagination. Best of all, it’s a great way to repurpose materials like scrap paper or fabric.
Ready to get started? Follow along for step-by-step tips on perfect adhesion and creative display ideas that will make your creations shine.
Why Decoupage Easter Eggs Are the Perfect Spring Craft
Skip the dye and try this simple crafting method instead. Unlike traditional techniques, it eliminates vinegar smells and stained fingers. Plus, your creations last for years—no boiled egg odor or cracks.
Mess-Free Alternative to Liquid Dyes
85% less cleanup makes this ideal for busy crafters. Mod Podge seals designs without drips or spills. A real game-changer for families and classrooms alike.
Endless Customization with Napkins and Mod Podge
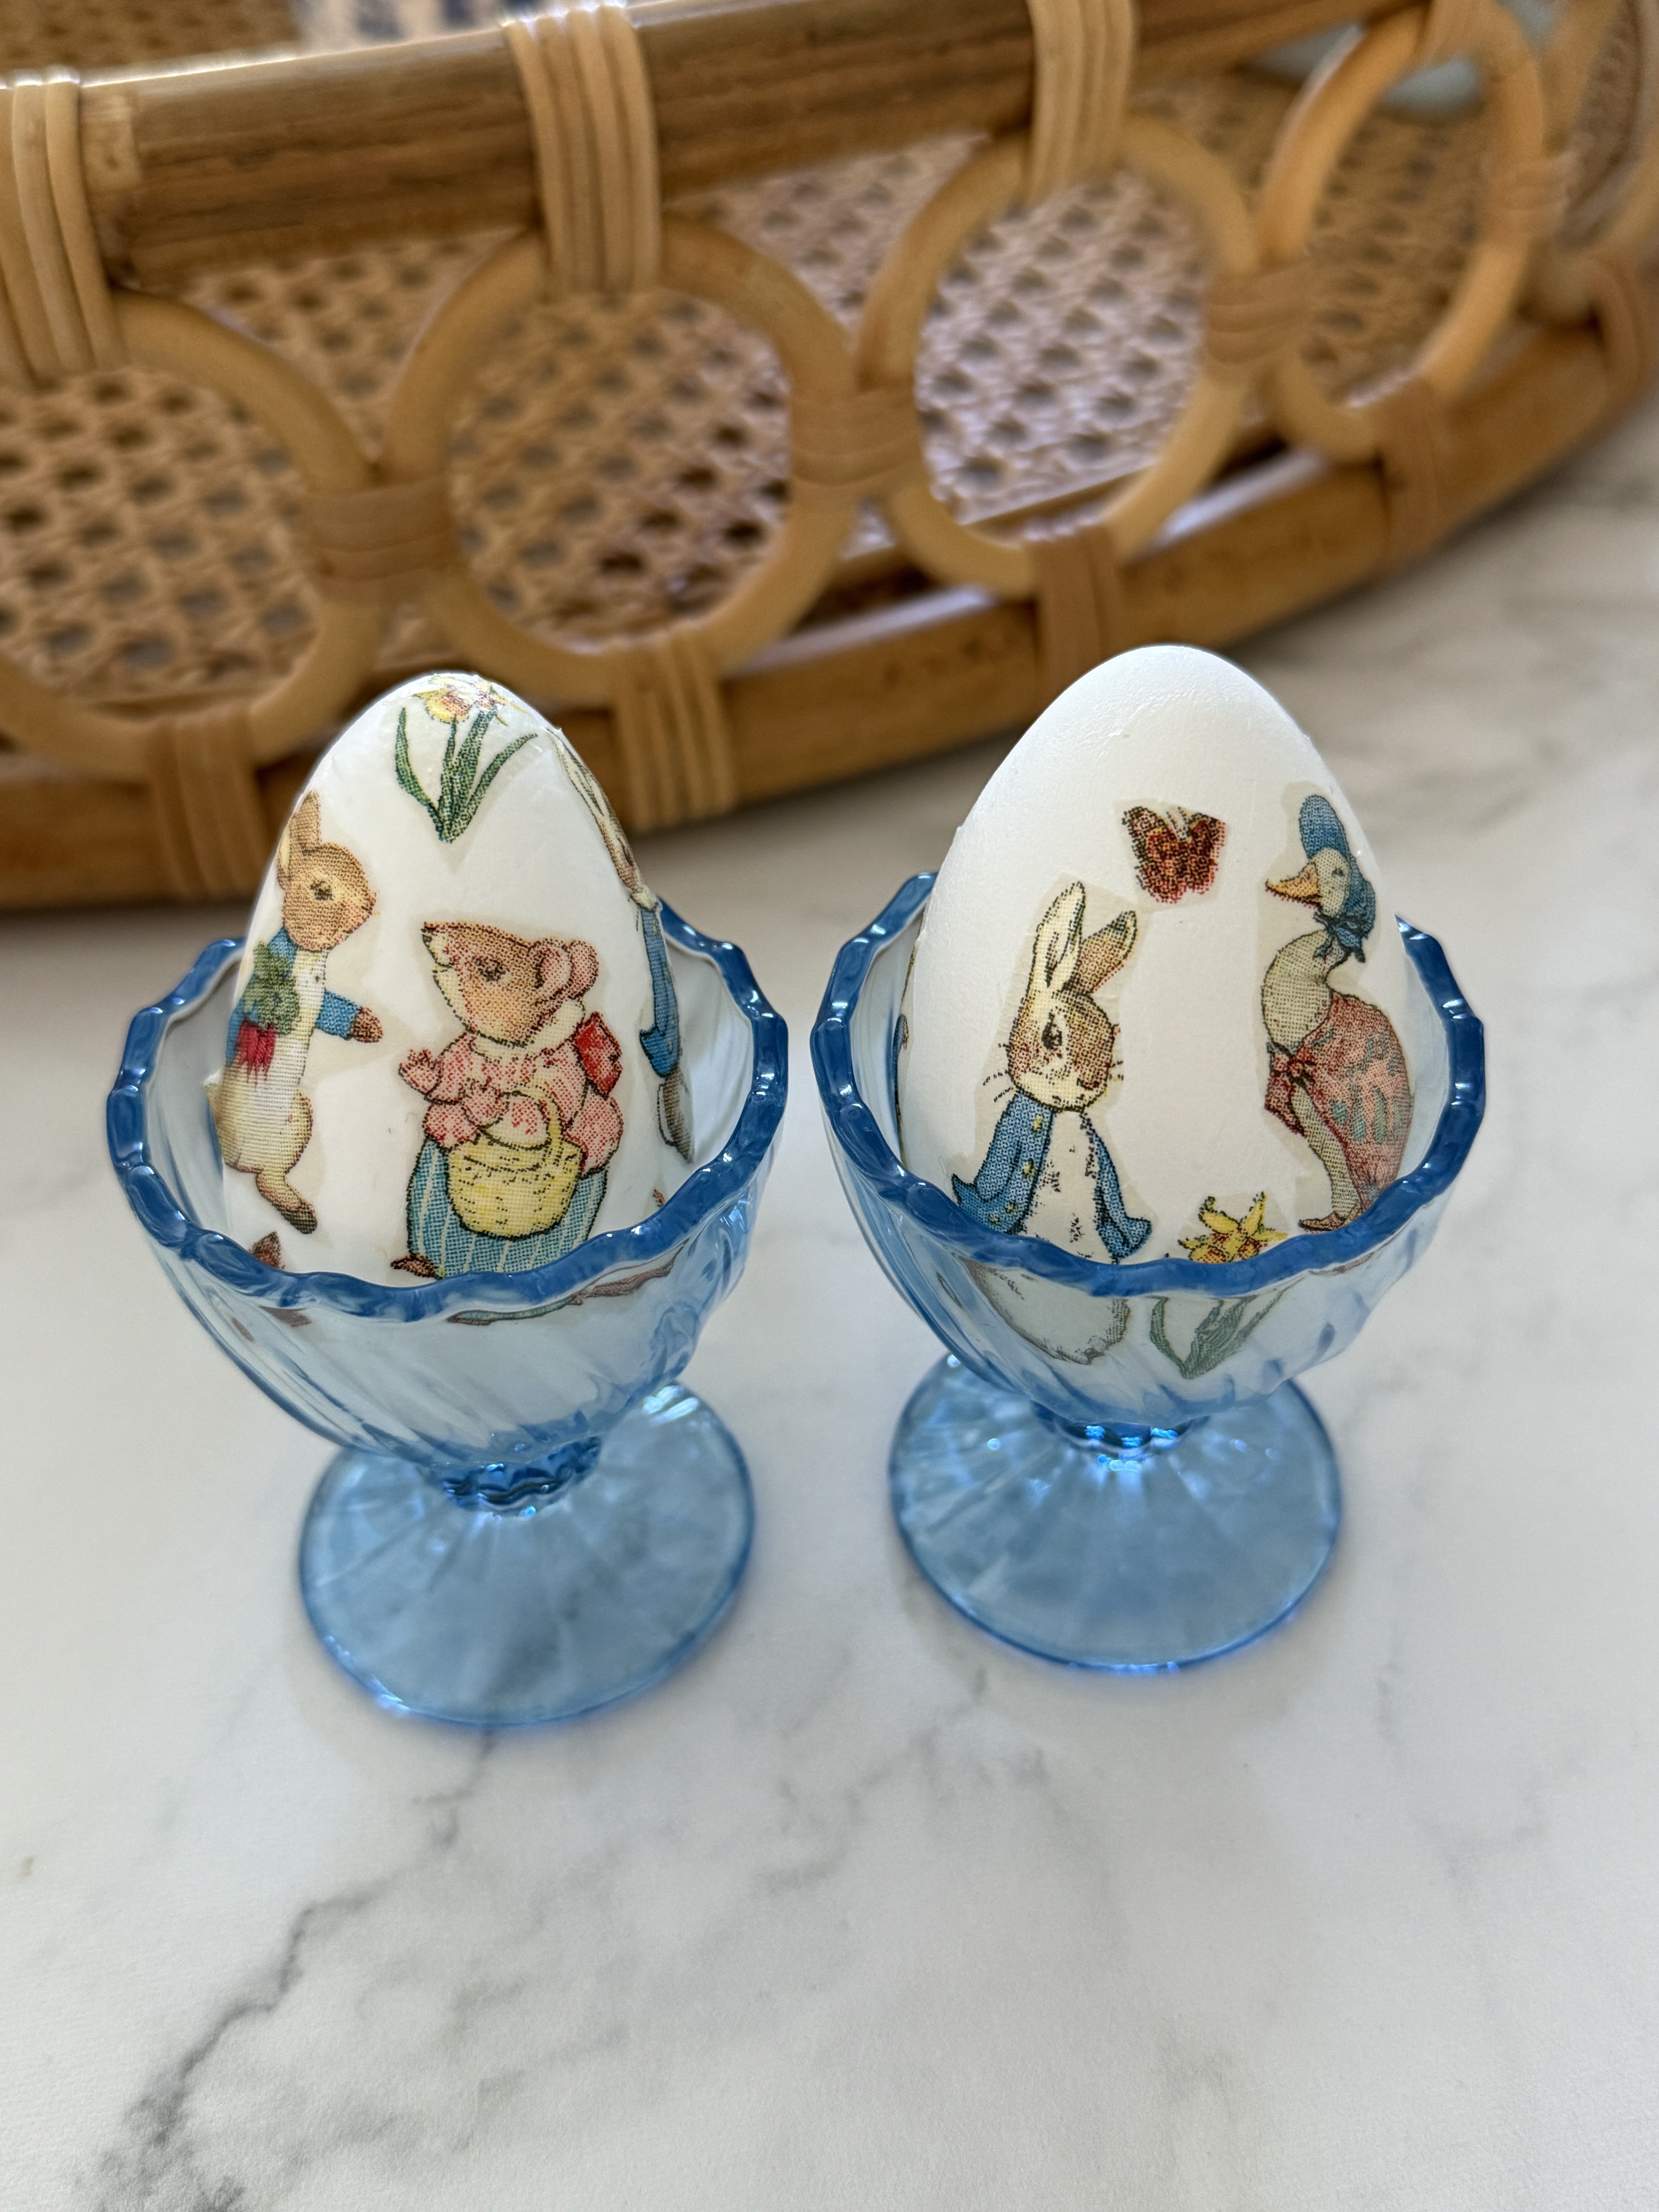
From floral prints to vintage book pages, patterns adapt to any style. One crafter shared:
“My blue chinoiserie designs still elevate my tablescape three years later.”
| Method | Cleanup Time | Durability |
|---|---|---|
| Traditional Dyeing | 15+ minutes | Days (if refrigerated) |
| This Project | 2 minutes | Years |
Pro tip: Layer patterned napkins for watercolor-like effects. Mix-and-match halves for unique combos—no two pieces are alike!
Choosing the Right Materials for Decoupage Eggs
The secret to flawless designs? Start with the best materials. Whether you prefer lightweight foam or sturdy plastic, each base offers unique advantages. Pair them with vibrant napkins or tissue paper for endless creativity.
Foam, Plastic, or Wooden: Which Base Works Best?
Foam is budget-friendly and lightweight, perfect for textured finishes. Plastic eggs withstand handling, ideal for family projects. Wooden eggs accept paint beautifully for layered designs.
| Material | Best For | Tip |
|---|---|---|
| Foam | Textured looks | Use chopsticks to hold while drying |
| Plastic | Durability | Wipe with alcohol for better adhesion |
| Wooden | Custom painting | Sand lightly before decoupaging |
Napkin Hacks for Professional Results
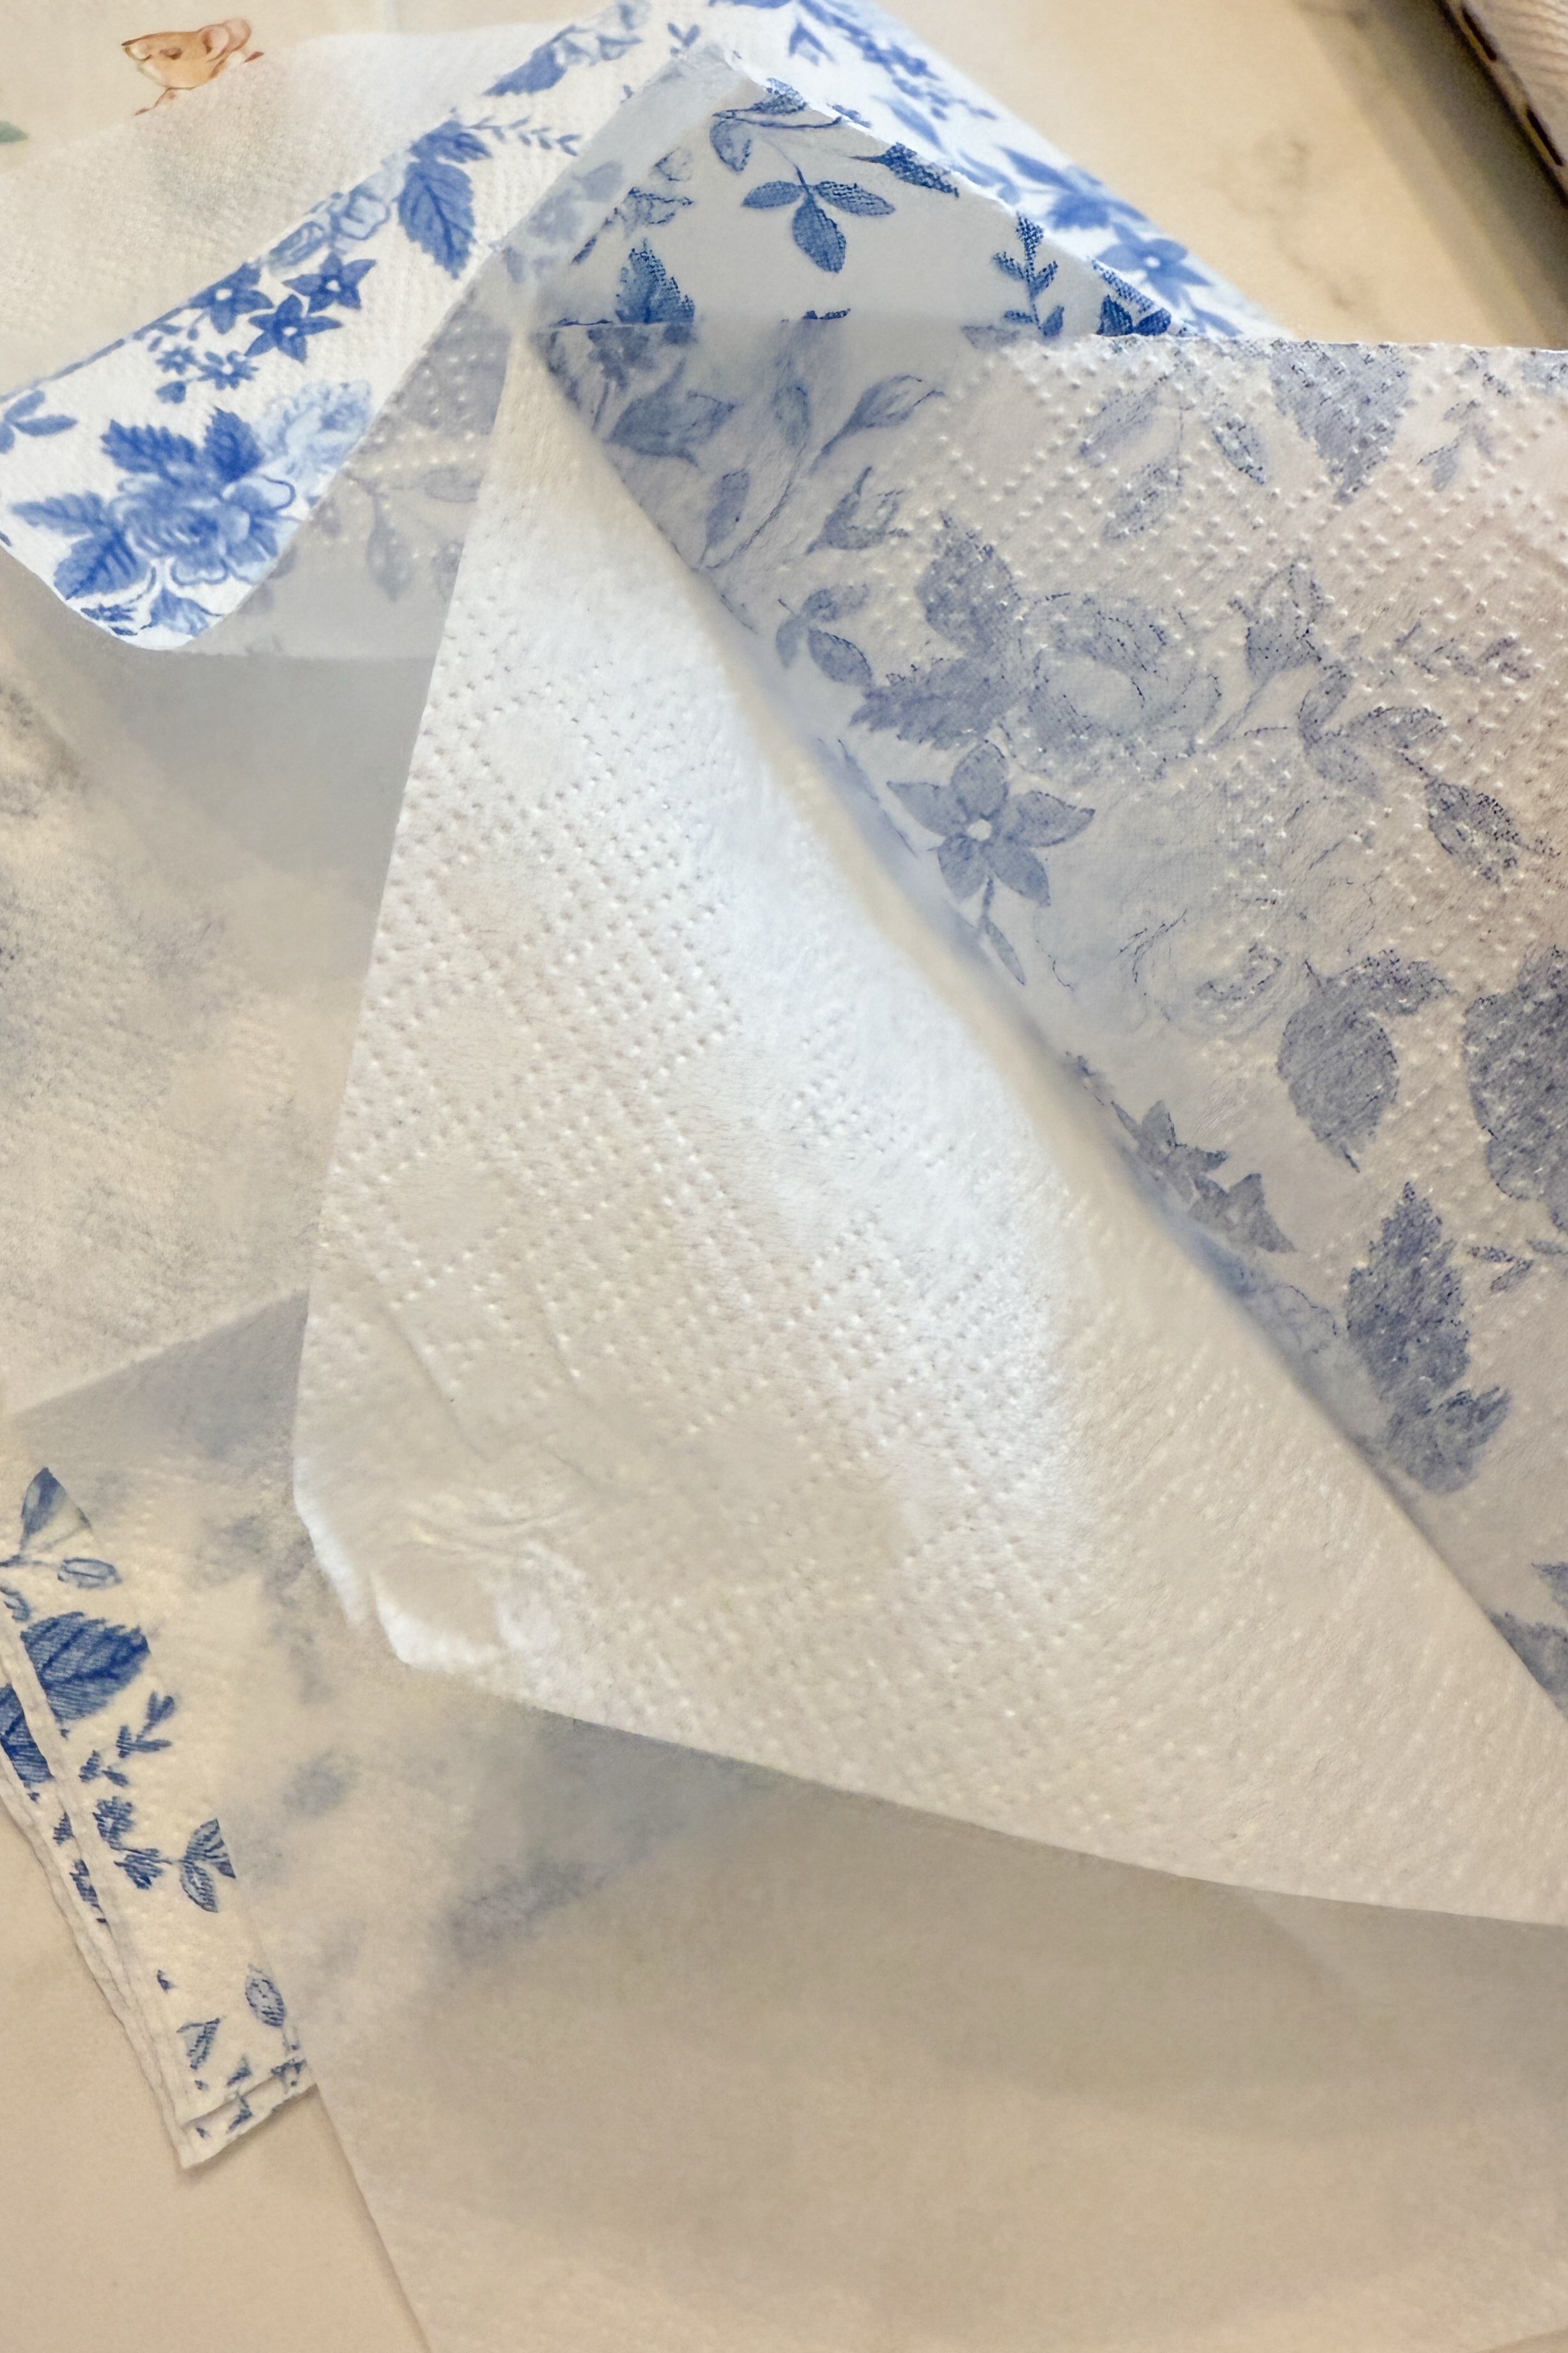
Separate 3-ply napkins easily: press tape onto the top layer and peel. Too thin? Tissue paper works as a lightweight alternative. Avoid thick cardstock—it wrinkles on curved surfaces.
Mod Podge Magic: Pick Your Finish
Matte creates vintage charm, while glossy makes colors pop. For festive sparkle, try glitter Mod Podge. One crafter raved:
“Glossy brought my floral napkins to life!”
- Insider tip: Apply a heavier coat for fabric scraps.
- Warning: Let each layer dry fully to prevent smudging.
Hers a quick list of things you will need and Amazon will bring them right to YOU
Scissors
Brushes (craft kind are fine )


Step-by-Step Guide to Making Decoupage Easter Eggs

Transform plain surfaces into works of art with this effortless technique. Follow these steps to create vibrant keepsakes that last for seasons. Perfect for beginners and experts alike!
Prepping Your Napkins and Work Surface
Start by separating the printed layer of napkins—peel gently or use tape to lift the top ply. Curve your scissors to cut designs that fit egg contours smoothly.
Cover your workspace with parchment paper. Use toothpicks or foam holders to keep pieces steady. Proper ventilation ensures quick drying.
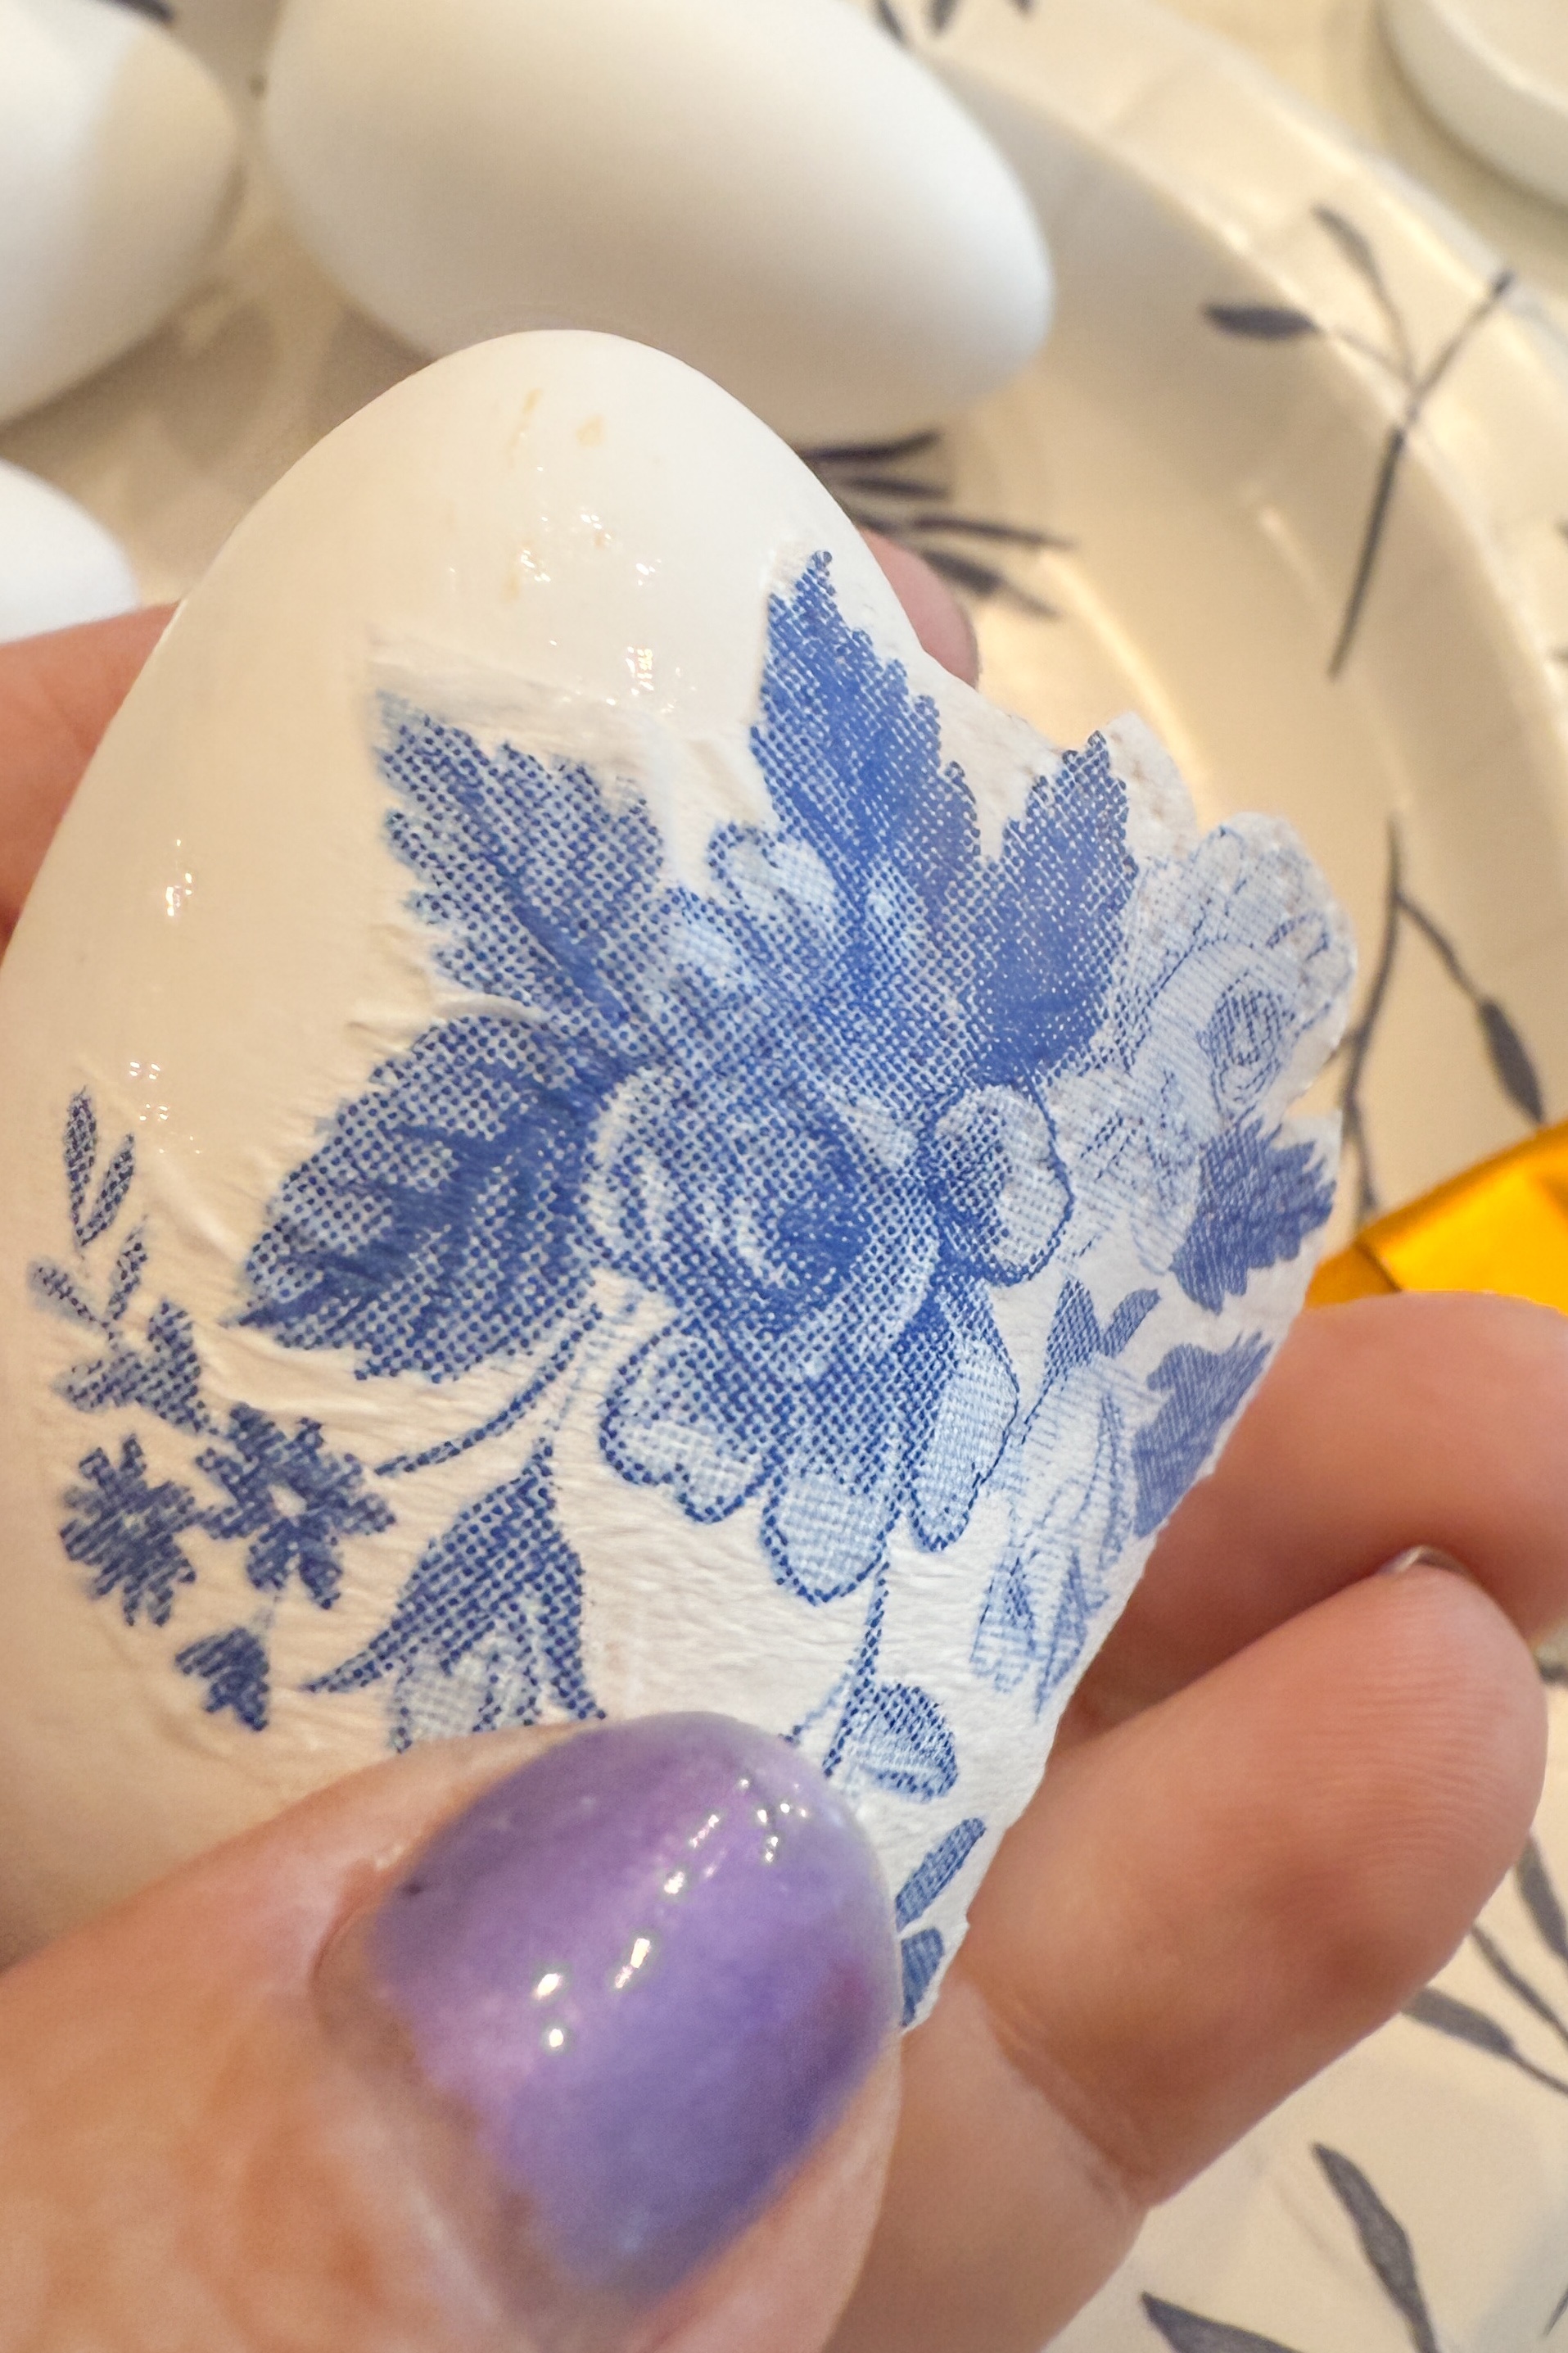
Applying Mod Podge Smoothly for a Flawless Finish
Mod Podge works best in thin, even layers. Use a soft brush to apply a base coat. Press napkin pieces gently, smoothing from center to edges.
Fix air bubbles with a heat gun on low or a pinprick. Work on multiple pieces at once to save time during drying phases.
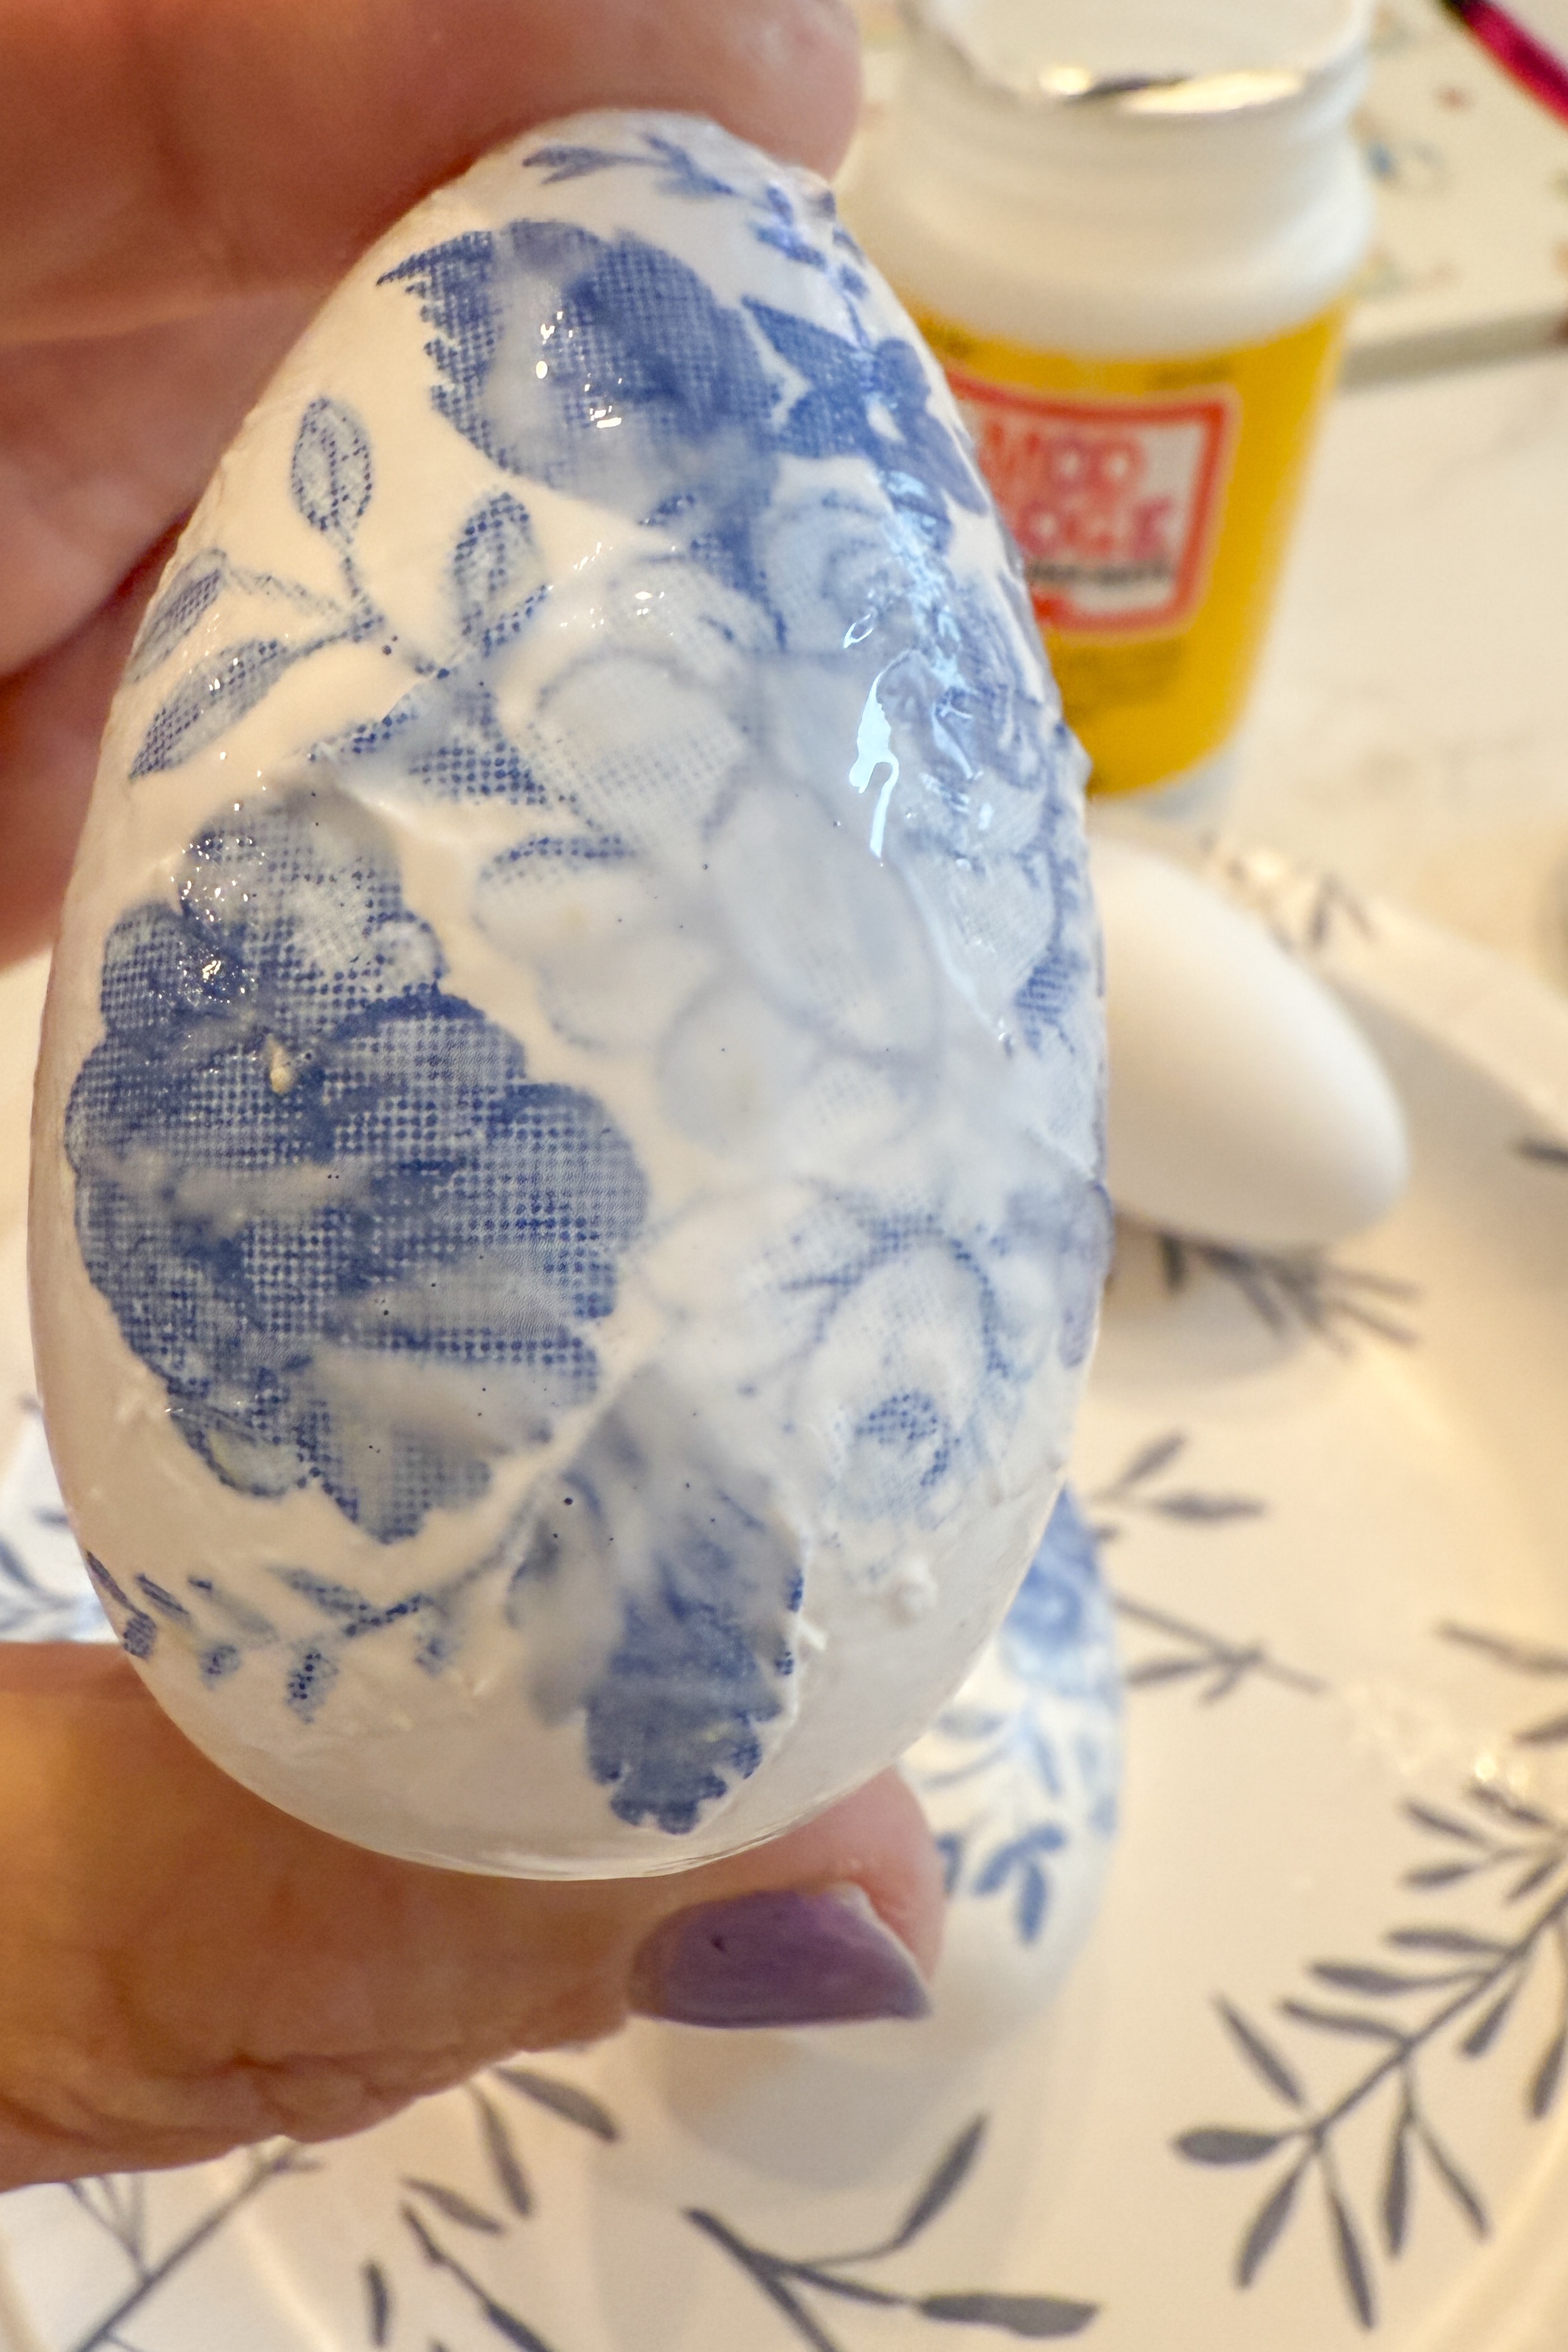
Drying and Sealing Your Eggs for Longevity
Let each layer dry 20 minutes before adding sealant. Three coats of gloss or matte finish protect against handling. A crafter shared:
“Sealed pieces survived my toddler’s curiosity—still pristine after two years!”
- Pro tip: Rotate eggs on a rack to prevent sticking.
- Warning: Avoid thick coats—they cause wrinkles.
Creative Decoupage Egg Design Ideas

Unlock endless creativity with these unique decorating ideas. Whether you prefer bold patterns or subtle textures, these techniques will inspire your next project. Perfect for gifts or seasonal displays!
Mixing Patterns for Eclectic Decor
Combine floral napkins with geometric scrapbook paper for striking contrasts. Layer lace under translucent pieces for depth—a trick praised by crafters:
“The lace added vintage charm without overpowering my design.”
Try comic book prints for kids’ projects or burlap scraps for farmhouse flair. Mod Podge seals layers seamlessly.
Using Scrapbook Paper or Fabric Scraps
Upcycle materials like piano sheet music or fabric swatches. Thin materials adhere best—avoid thick cardstock to prevent wrinkles.
| Material | Best Use | Pro Tip |
|---|---|---|
| Scrapbook Paper | Themed sets (e.g., place cards) | Seal edges with extra glue |
| Fabric Scraps | Textured accents | Iron flat before cutting |
- Gift-worthy twist: Initial wooden pieces in nursery colors for new parents.
- Seasonal hack: Swap bunnies for snowflakes to make winter ornaments.
- Party favorite: Avengers-themed designs for superhero hunts.
Displaying Your Decoupage Eggs for Maximum Impact
Showcase your handmade treasures with these stunning display ideas. Whether you prefer rustic charm or modern elegance, the right arrangement transforms crafts into conversation starters. Here’s how to highlight your work like a pro.
Tablescapes and Centerpiece Inspiration
Create a spring centerpiece by nesting jute-wrapped pieces in dough bowls. Add height with stacked books under a cloche—this trick adds drama to home vignettes. One crafter shared:
“Potted wheatgrass made my display look like a meadow!”
- Lighting magic: Place LED tea lights inside translucent designs for a warm glow.
- Retail flair: Hang an egg chandelier with fishing line, inspired by Anthropologie.
Hanging Displays with Natural Elements
Drape creations from forsythia branches or moss stems for organic texture. This display strategy works for mantels or entryways. For year-round use, swap pastels for jewel tones in fall.
Pro tip: Store pieces safely in tissue-lined cartons. They’ll stay pristine for next season!