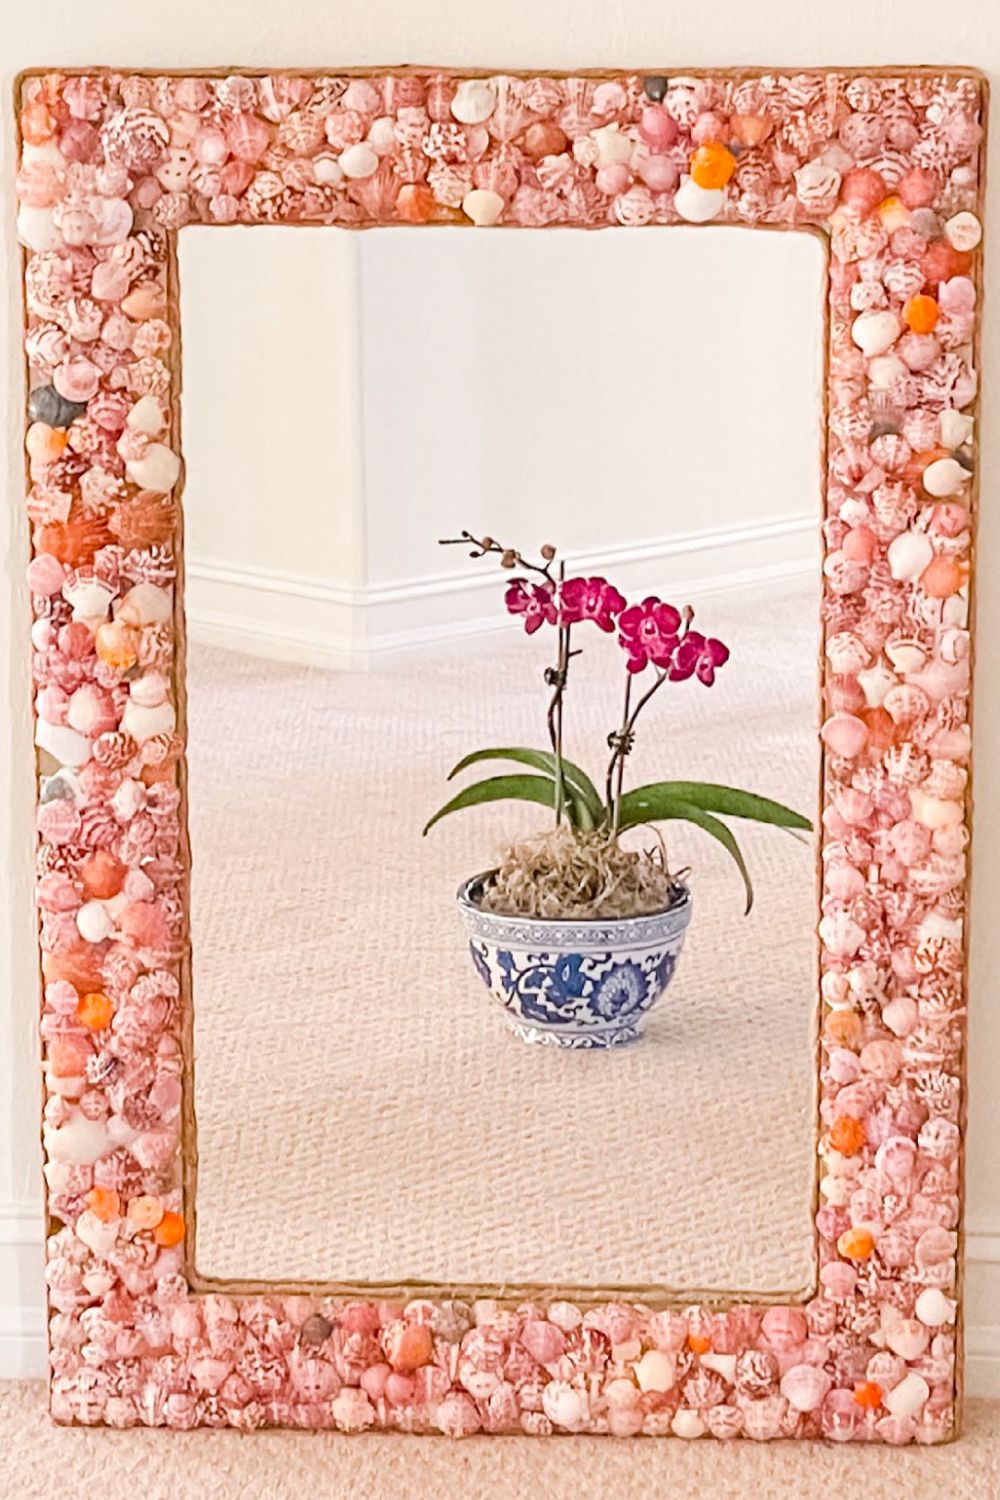
Check out How to Turn a Thrifted Find into a Coastal Treasure.Have you ever dreamed of bringing the beach into your home? This DIY seashell mirror is the perfect way to do just that! I took a thrifted mirror and some seashells I found at the beach. With these, I turned a plain mirror into a beautiful coastal piece. This step-by-step tutorial will guide you on creating your own seashell mirror. It’s perfect for adding a touch of coastal charm to any space.
What You’ll Need
Before we dive into the steps, here’s what you’ll need for this project:
• A thrifted mirror (or any mirror you’d like to decorate)
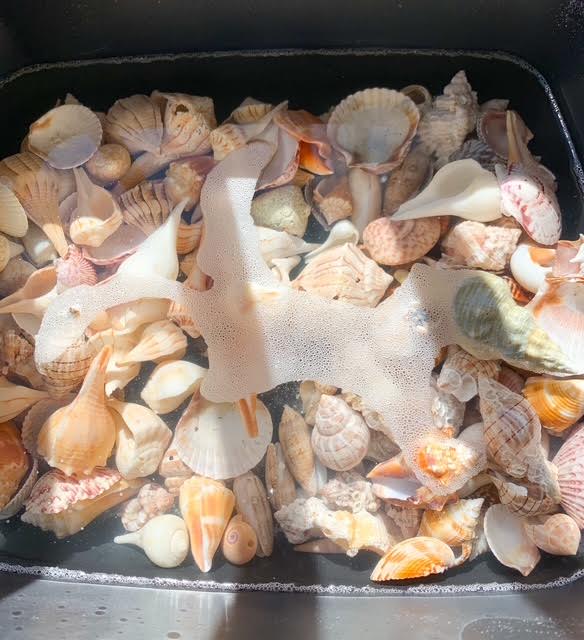
• A collection of seashells (gathered from the beach or purchased)
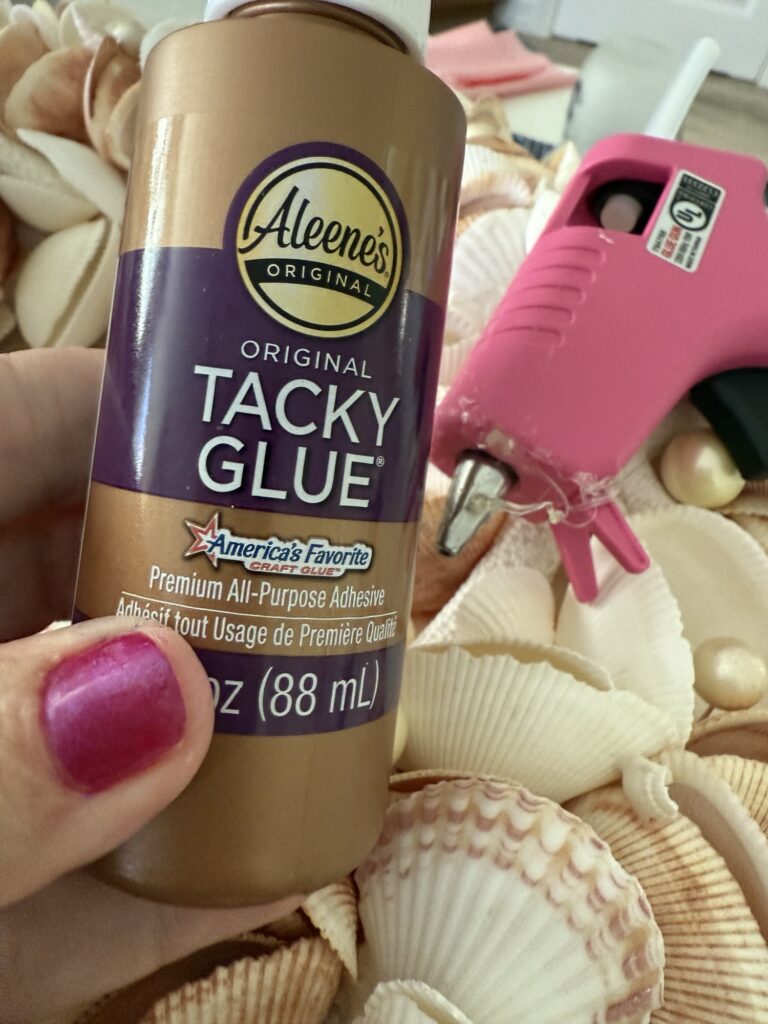
• Strong adhesive glue (E6000 or hot glue works well)
• Rope or twine (optional, for added detail)
• Scissors
• Tweezers (to help with small shells)
• Clear sealant (optional, to add shine and protection) I love mod podge , I will add my supplies below this post
Step 1: Prepping Your Mirror
The first step is to find the perfect mirror. I found mine at a thrift shop and loved its shape and size. Before adding the shells, make sure the surface is clean and dry. If the frame has any peeling paint or rough areas, a quick sanding can help smooth things out. I loved this one because it was wooden and had a flat frame, making gluing the shells easier
Step 2: Arranging Your Seashells
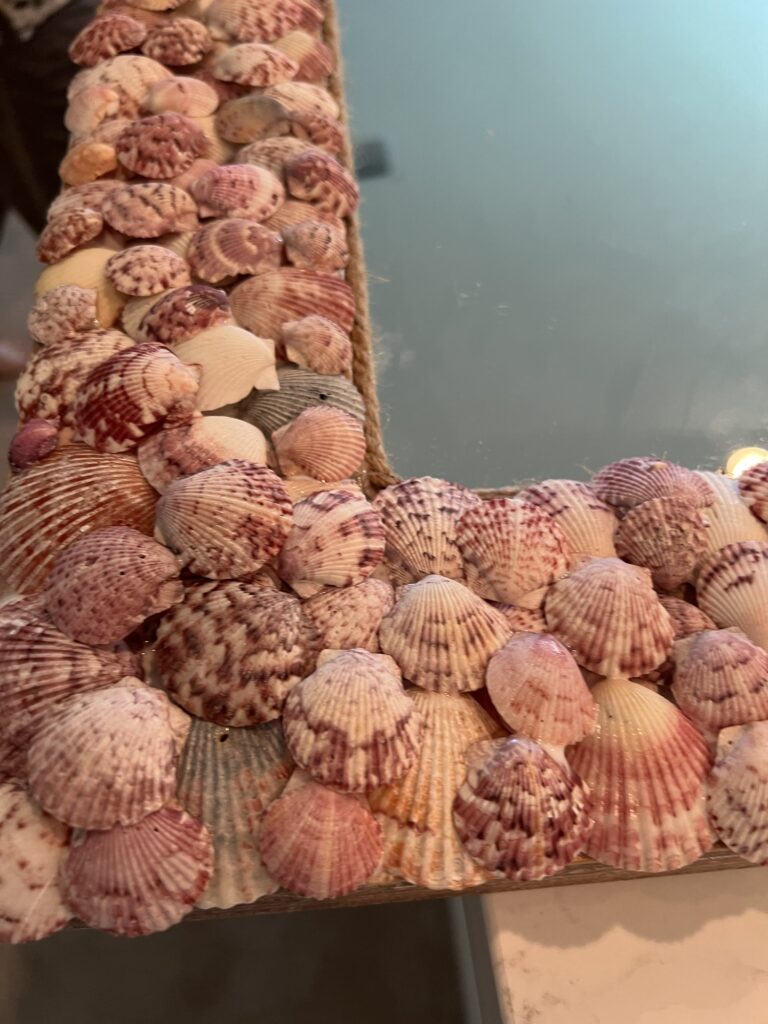
Lay out your shells before gluing them down. This step is crucial for creating a balanced design. I used a mix of different shell sizes and colors to give the mirror a natural, textured look. Play around with placement until you find a pattern you love.
Step 3: Gluing the Seashells in Place
Once you’re happy with your arrangement, start gluing the shells to the frame. Begin with the larger shells as a base and fill in the gaps with smaller ones. I also added a rope trim around the edges for an extra coastal touch. Let the glue dry completely before moving to the next step.
Step 4: Sealing and Styling Your Mirror
To protect your masterpiece, you can apply a clear sealant over the shells, which enhances their color and keeps them secure. Once dry, your mirror is ready to hang! It looks stunning in an entryway, bathroom, or bedroom. It adds a natural coastal vibe to any space. My favorite for this is Modge Podge. I prefer gloss, but you might also like matte or semi-gloss. This truly brings out the colors of the shells, like when they are wet.
Final Thoughts
This DIY seashell mirror is a lovely way to show off your beach memories. It adds a nice coastal touch to your home. Whether you place it above a console table or in your bathroom, it’s sure to make a statement. If you love beach-inspired DIYs, be sure to check out my other coastal home decor ideas!
Do you love this DIY? Save it to Pinterest and share your creations with me on Instagram!

As an Amazon affiliate, I earn from qualifying purchases. Here are the products I used. I didn’t use the shells and mirror, but I included them for inspiration!
-
 Buy Now on Amazon$12.55
As an Amazon Associate I earn from eligible purchases at no cost to you
03/06/2025 01:36 am GMT -
 Buy Now on Amazon$19.59
As an Amazon Associate I earn from eligible purchases at no cost to you
03/06/2025 01:36 am GMT -
 Buy Now on Amazon$13.45
As an Amazon Associate I earn from eligible purchases at no cost to you
03/06/2025 01:36 am GMT
This is how I incorporate seashells into my coastal decorating
Thanks for stopping by,

Pingback: DIY Seashell Trinket Dish: Easy Craft Steps - Fearlessmermaid
Pingback: 5 Chic Ways to Use Seashells in Home Decor - 5 Chic Ways to Use Seashells in Home Decor Fearlessmermaid